
How to Choose the Best Outdoor Post Lights?
Choosing the right Outdoor Post Lights can change how a driveway, garden path, or porch feels after sunset. A well-placed fixture should guide movement, improve visibility, and support the character of your home. It should not create harsh glare or shine directly into a neighbor’s window. Warm light, durable materials, and suitable brightness often matter more than an impressive product photo.
In this guide, I will examine the practical details that influence a confident purchase. These include post height, light distribution, bulb type, weather resistance, installation requirements, and long-term maintenance. I have found that a light looking elegant in a showroom may feel too bright beside a small garden. That mistake is easy to make. It is also avoidable.
Consider the setting before comparing finishes. A coastal property may need corrosion-resistant materials, while a shaded walkway may require stronger illumination. Solar models can reduce wiring work, but their performance depends on sunlight, battery quality, and seasonal weather. Hardwired fixtures may offer steadier output, yet they need careful installation and compliance with local electrical requirements. Always check the manufacturer’s specifications and use a qualified electrician when necessary.
No single design suits every property. That matters. The best choice balances appearance, safety, energy use, maintenance, and realistic outdoor conditions. By comparing these factors honestly, you can select Outdoor Post Lights that remain useful long after the first evening they are installed.
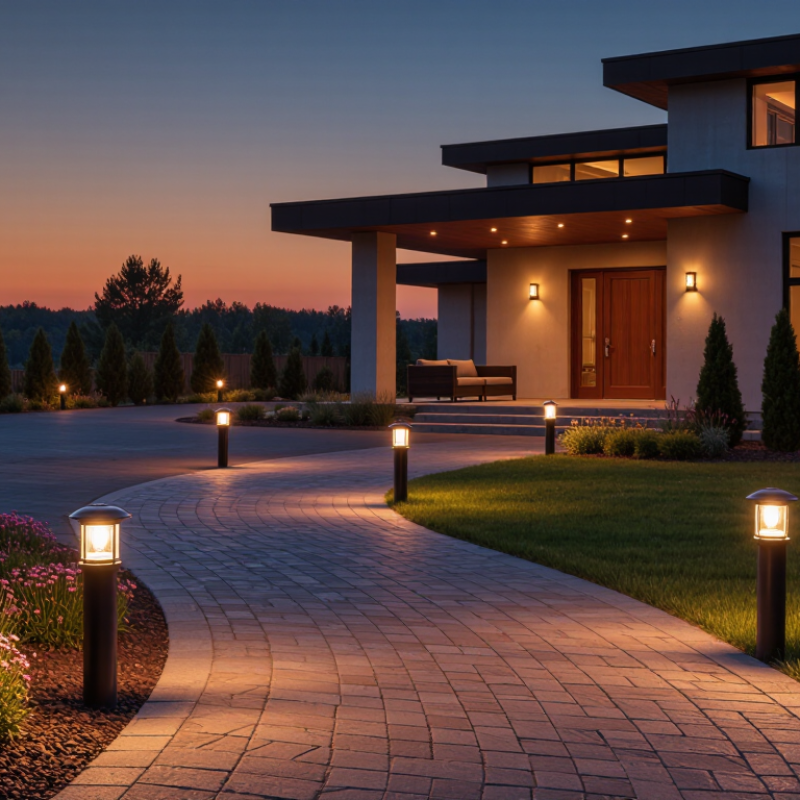
Define the Purpose and Placement of Outdoor Post Lights
How to Choose the Best Outdoor Post Lights?
Define the Purpose and Placement of Outdoor Post Lights
Outdoor post lights should solve a clear problem before they improve a landscape. Marking a walkway requires gentle, even illumination. Lighting a driveway needs stronger visibility and wider coverage. Near a gate, the fixture should help visitors identify the entrance without shining into their eyes. I usually walk through the property after sunset before choosing a location. This reveals dark corners that daylight hides.
Placement affects safety, comfort, and appearance. Set posts beside the path, not directly in its narrow walking line. Keep the light source above eye level when possible. A post height of about six to eight feet often balances visibility and reduced glare. Space multiple fixtures according to the beam spread, surrounding trees, and path width. Too many lights can create harsh bright spots. Too few can leave confusing shadows. A light can be beautiful and still be misplaced.
Check the ground carefully before installation. Avoid locations where water collects or snow is commonly piled. Confirm that buried cables, drainage pipes, and irrigation lines will not interfere. Choose weather-resistant construction suitable for the local climate. Electrical connections should follow local codes and be inspected by a qualified professional. I once placed a post too close to a driveway, and turning vehicles made it feel cramped. That mistake changed my approach: measure movement, not just distance. Consider warm color temperatures for living areas, while cooler light may improve visual contrast near entrances.
How to Choose the Best Outdoor Post Lights? - Define the Purpose and Placement of Outdoor Post Lights
| Outdoor Area | Primary Purpose | Recommended Mounting Height | Suggested Light Output | Recommended Color Temperature | Recommended Beam or Distribution | Key Placement Guidance | Useful Features |
|---|---|---|---|---|---|---|---|
| Driveway Entrance | Mark the entrance and improve vehicle and pedestrian visibility. | 1.5–2.1 m | 600–1,200 lumens per light | 2,700–3,500 K | Wide, downward-directed distribution | Place lights on both sides of the entrance where possible. Keep them far enough from the driving path to avoid vehicle impact. | Photocell, dusk-to-dawn operation, weather-resistant housing |
| Walkways and Garden Paths | Guide foot traffic and reduce trip hazards without creating glare. | 0.6–1.0 m | 100–300 lumens per light | 2,700–3,000 K | Soft downward or shielded distribution | Position lights along the edges of the path and stagger them rather than placing them in a rigid straight line. | Glare shield, low-voltage wiring, corrosion-resistant finish |
| Front Yard and Property Boundary | Define property edges and provide general outdoor orientation. | 1.2–1.8 m | 300–800 lumens per light | 2,700–3,500 K | Moderate, evenly spaced distribution | Use consistent spacing and avoid aiming light directly toward neighboring homes or public roads. | Timer control, sealed electrical compartment, IP-rated construction |
| Garden or Landscape Feature | Highlight planting beds, trees, statues, or architectural details. | 0.5–1.2 m | 100–500 lumens per light | 2,700–3,000 K | Narrow or adjustable distribution | Place the light where it illuminates the feature without shining into nearby windows or creating harsh shadows. | Adjustable head, dimming, low-glare lens |
| Patio or Seating Area | Provide comfortable ambient lighting for dining and conversation. | 1.2–1.8 m | 300–800 lumens per light | 2,700–3,000 K | Diffuse, downward-directed distribution | Place lights around the perimeter instead of directly beside eye level. Maintain clear access around seating and furniture. | Dimming, warm-white LED, manual or smart control |
| Pool or Water Feature Perimeter | Improve edge visibility and support safe movement around the water. | 0.6–1.2 m | 100–500 lumens per light | 2,700–3,000 K | Shielded downward distribution | Install fixtures outside required clearance zones and follow local electrical and pool-safety regulations. | Ground-fault protection, sealed construction, corrosion resistance |
| Security-Sensitive Area | Increase visibility near gates, side passages, garages, or storage areas. | 1.8–2.4 m | 800–1,500 lumens per light | 3,000–4,000 K | Broad, controlled distribution | Direct light toward the ground and access points. Avoid excessive brightness that can create deep shadows or disturb neighbors. | Motion sensor, adjustable sensitivity, photocell, glare control |
| Mailbox or Address Marker | Make the address or mailbox easy to identify after dark. | 0.9–1.5 m | 100–300 lumens per light | 2,700–3,500 K | Focused or downward distribution | Place the fixture so numbers remain legible from the street without directing glare toward approaching drivers. | Photocell, clear lens, weather-resistant materials |
| Gate or Fence Entry | Identify the entry point and improve visibility when opening or closing the gate. | 1.5–2.1 m | 300–800 lumens per light | 2,700–3,500 K | Downward or cross-lighting distribution | Mount lights where gate movement will not be obstructed. Provide illumination on both the latch area and the approach. | Motion sensor, durable mounting bracket, corrosion resistance |
Selection note: Choose the final brightness, spacing, fixture height, and electrical method according to the site layout, local codes, surrounding light levels, and the manufacturer’s installation instructions.